🧭 Set your XBASE_WORKSPACE
Choose your OS and copy the command to set a default xBase workspace folder.
# create workspace directory (example)
mkdir -p "$HOME/xbase_workspace"

# set for this session
export XBASE_WORKSPACE="$HOME/xbase_workspace"

# to persist: add to ~/.bashrc or ~/.zshrc (append)
echo 'export XBASE_WORKSPACE="$HOME/xbase_workspace"' >> ~/.bashrc
# or for zsh:
# echo 'export XBASE_WORKSPACE="$HOME/xbase_workspace"' >> ~/.zshrc

# reload shell or source file:
# source ~/.bashrc
$HOME/xbase_workspace with any path you prefer.
On Windows I use c:\dev, on Linux ~/dev
# create folder (example)
New-Item -ItemType Directory -Force -Path "$env:USERPROFILE\xbase_workspace"

# set for current PowerShell session
$Env:XBASE_WORKSPACE = "$env:USERPROFILE\xbase_workspace"

# persist for current user (requires no admin)
[Environment]::SetEnvironmentVariable("XBASE_WORKSPACE", "$env:USERPROFILE\xbase_workspace", "User")

# you may need to restart shells / apps to see the updated variable
:: create folder (example)
mkdir "%USERPROFILE%\xbase_workspace"

:: set for current cmd session
set XBASE_WORKSPACE=%USERPROFILE%\xbase_workspace

:: persist (User-level)
setx XBASE_WORKSPACE "%USERPROFILE%\xbase_workspace"

:: note: new cmd windows will see the variable; restart apps if needed
setx truncates values over 1024 chars on older Windows. Use
PowerShell for complex paths.
Install xBase Compilers and GUI Libraries
Choose one or more compilers to work with. Click a card for quick links and setup hints.
 Visual FoxPro
Legacy Windows-only environment. Use for maintaining or porting classic VFP apps.
Quick hints
- VFP is Windows-only — install on Windows 7/10/11 or in a VM or install wine.
- Store projects under
$XBASE_WORKSPACE/VFP_Projects. - Consider VFPA/VFPX extensions for modern fixes and tools.
 Harbour
Modern open-source xBase compiler — cross-platform, C-based, actively developed.
Quick install (example)
# clone and build (Linux example)
cd $XBASE_WORKSPACE/HB_Projects
git clone https://github.com/harbour/core harbour-core
cd harbour-core
make
 HBQT
HBQT
Use if you want native GUI with Harbour front-end powered by Qt.
Quick notes
- Install Qt (matching version) before building HbQt.
- Put HbQt projects in
$XBASE_WORKSPACE/HBQT_Projects. - Prebuilt binaries may speed up setup on Windows.
Install C/C++ Compilers
To work with Visual FoxPro, Harbour, and extensions at the native code level, you need the installed C/C++ compiler.
💻 Windows
Recommended compilers for Windows development.
Подробности
- MSVC Community — enables the compiler (2017–2022)
- MinGW-w64 — popular open-source GCC для Windows
- Clang — modern compiler C/C++/Objective-C
🐧 Linux
Standard development tools for Linux distributions.
Installation Commands
# Ubuntu/Debian
sudo apt install build-essential

# Fedora/RedHat
sudo dnf groupinstall "Development Tools"

# Clang (optional)
sudo apt install clang
🍏 macOS
Apple's Clang-enabled development tools.
Installation Command
# Installing Developer Tools
xcode-select --install
GCC + libc Setup для Linux
Detailed configuration of GCC and C standard libraries for compiling Harbour and related projects.
⚙️ GCC Toolchain
A complete set of GCC tools for compiling C/C++ projects.
Installation by distributions
# Ubuntu/Debian
sudo apt update
sudo apt install gcc g++ libc6-dev

# Fedora/CentOS/RHEL
sudo dnf install gcc gcc-c++ glibc-devel

# Arch Linux
sudo pacman -S gcc glibc

# OpenSUSE
sudo zypper install gcc gcc-c++ glibc-devel

# Alpine Linux
sudo apk add gcc g++ musl-dev
📚 C Standard Libraries
The C standard libraries required for compiling Harbour applications.
Additional libraries
# Дополнительные dev пакеты (Ubuntu/Debian)
sudo apt install build-essential manpages-dev \
  linux-libc-dev libc6-dev-i386

# For 32-bit compatibility on 64-bit systems
sudo apt install gcc-multilib g++-multilib

# Fedora equivalent
sudo dnf install glibc-devel.i686 libgcc.i686

# Checking versions
gcc --version
ldd --version
🚢 Harbour-специфичная настройка
Оптимизация GCC для компиляции Harbour проектов.
Переменные окружения
# Добавьте в ~/.bashrc или ~/.zshrc
export HB_COMPILER=gcc
export HB_BUILD_OPTIM=yes

# For static libraries
export HB_BUILD_SHARED=no

# Optimization for your architecture
export CFLAGS="-O2 -march=native"
export CXXFLAGS="-O2 -march=native"

# Reboot shell
source ~/.bashrc
Community & Discussions
To ask questions, suggest ideas, or discuss the development of a project, join our communities.:
Git Setup for VFP Projects
Version control is essential for modern development. Here's how to set up Git for your VFP projects:
1. Install Git
# Basic Git configuration
git config --global user.name "Your Name"
git config --global user.email "your.email@example.com"
git config --global core.autocrlf false  # Important for Windows development
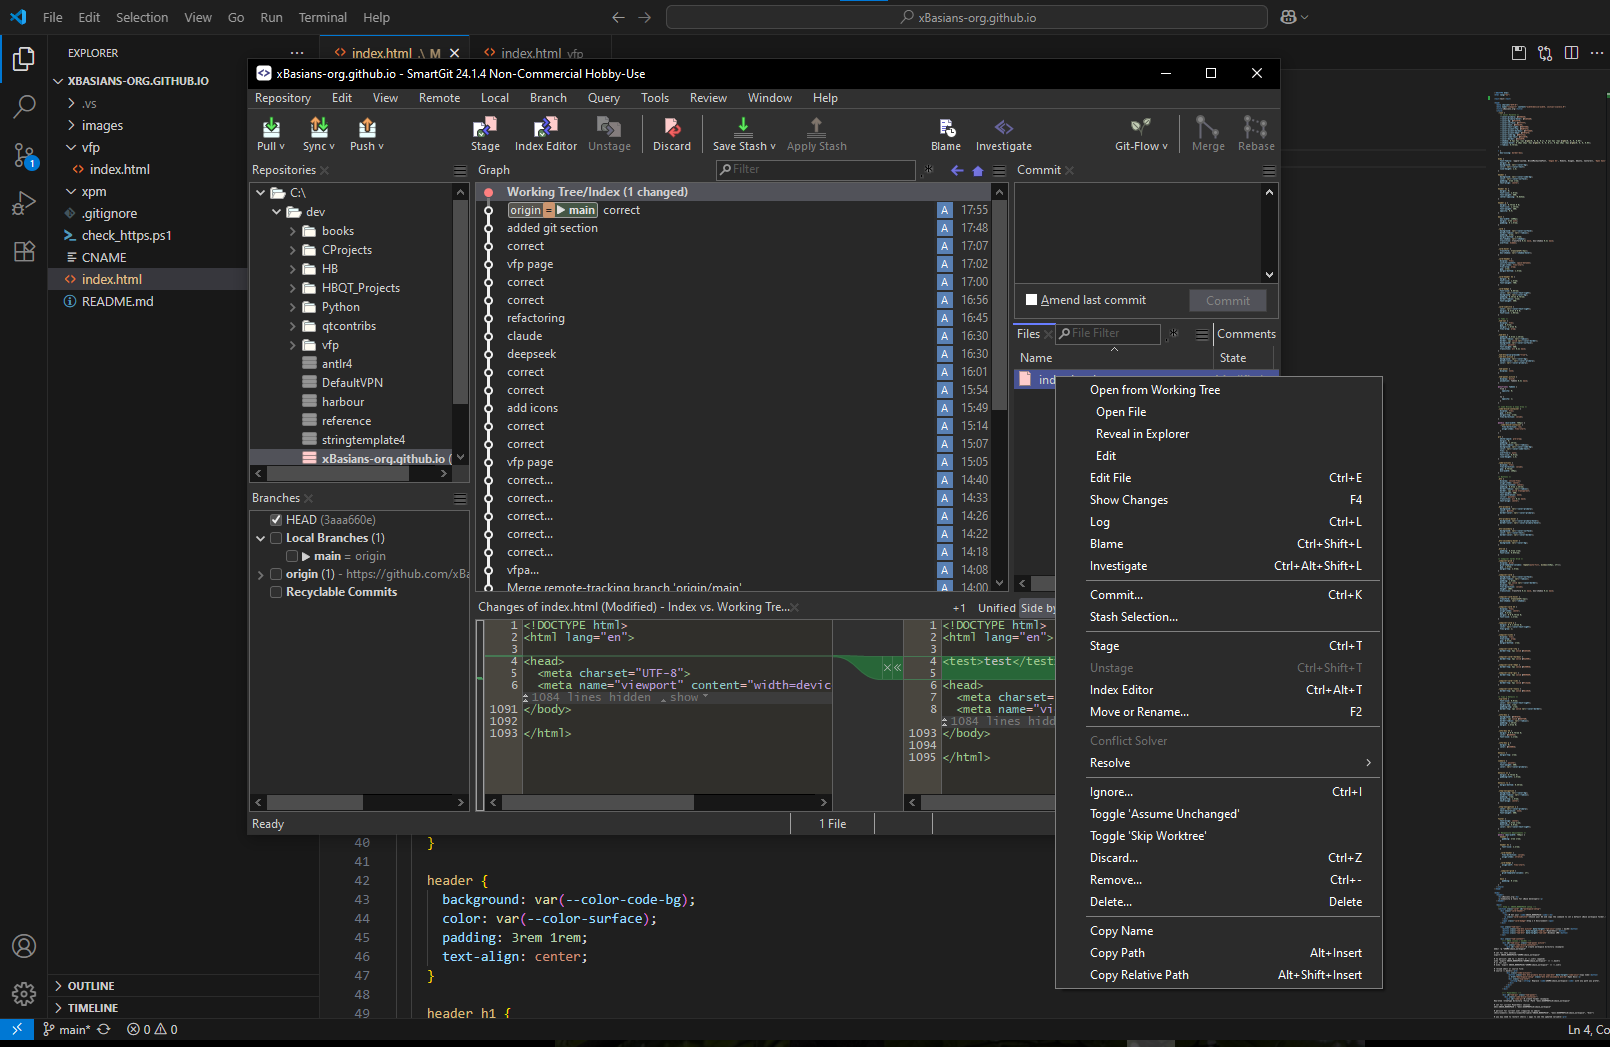
2. SmartGit Hobby License
SmartGit is a powerful Git GUI client. As a hobbyist developer, you can get a free license:
📸 Screenshot: SmartGit
![]()
3. Install and Activate SmartGit
📸 Screenshot: SmartGit License Activation
[Placeholder for license activation screenshot]
Image: The license activation dialog in SmartGit with the license key field highlighted
4. Configure SmartGit for VFP Projects
📸 Screenshot: SmartGit Preferences
[Placeholder for preferences screenshot]
Image: SmartGit preferences window with Git settings highlighted
5. Recommended .gitignore for VFP
Create a .gitignore file in your VFP project root:
# VFP compiled files
*.app
*.exe
*.fxp
*.err

# VFP generated files
*.bak
*.tmp
*.scc

# Database files
*.dbc
*.dct
*.dcx
*.dbf
*.cdx
*.fpt
*.idx

# Binary files
*.vcx
*.vct
*.scx
*.sct
*.frx
*.frt
*.lbx
*.lbt
*.mnx
*.mnt
*.pjx
*.pjt
*.vue

# Backup files
*._bak
*.~*

# IDE files
*.vcp
*.vw

# Log files
*.log

# Temporary files
Thumbs.db
.DS_Store
Next Steps
After installing VFP and Service Packs:
- Set environment variable:
VFP_Projects=%XBASE_WORKSPACE%\VFP_Projects - Copy common libraries to
%VFP_Projects%\Common_Libs - Configure VFP to use your workspace directory as default
- Install VFPX extensions and tools as needed
- Set up Git repository for your projects
- Configure SmartGit for version control
📸 Screenshots & Visual Guide
Visual steps for setting up your xBase workspace and tools
Git Global Config

Check your global username and email settings
SmartGit Hobby License
Activate your non-commercial hobby license
Repository Clone

Clone the xBasians.org repository successfully